Several months ago, I took a few online classes with Roben-Marie Smith. I've always loved her style and wanted to learn some of her techniques to blend with my own hand. One of her classes was called Mixed Media Mayhem, where she teaches you how to ink up some manila folders, then turn them into journal pages bound with a canvas cover. Well, not being a seamstress, (although, when I signed up for this class, I immediately went out to www.overstock.com and purchased myself a refurbed sewing machine for the killer price of $49.99! - it's still wrapped in the plastic it shipped in, by the way!), I never completed the journal, but found myself with quite a few inked up manila folders.
We were about to move into a brand new office building at work, so I got the brilliant idea that I'd make some painted folders for my new cube to add some artsy color to it's bland squaredom (is that a word?). So every time my husband saw me taking so much time painting a manilla folder, he'd say -- Babe, if you're going to paint something, why don't you paint on a canvas? Trust me, we don't have near enough wall space to display half of the folders I've made, let alone hang Lord knows how many canvases all over the place. (God love him, he just doesn't get me sometimes!).
So I continued to go crazy getting inked up like a smurf on crack, stencils all over the place, gesso everywhere, oil pastels and watercolor brushes strewn across my desk, pages and pages of newsprint saturated with all my excess ink, all in an effort to get my folders finished by the time we moved into the new space.
After I had a bunch painted, I was trying to decide how I was going to put the names on the index tab part of the folders. Again, Etsy, being my go-to spot for all things unique and unusual, I found a site that sold black labels and white chalk ink markers. I ordered some of those, but the labels didn't work the way I wanted them to. Then it hit me one day, why not put black gesso on the inside edge and index tab and use the white marker on that -- GENIUS, if I must say so myself. The black edges and the stark white ink really make the folders pop. I've had a lot of compliments and a number of people that just come over to visit my cube and see the folders I made after someone has told them about it.
Here are some pics of how my folders turned out:
Yes, the sign on the back wall says "Hot Flash". That was my license plate for my golf cart at one of our annual sales conferences!
These two are a couple of my favorites!
I did the center one and the one on the right at Stamp Camp. The one on the right was done with Dylusions inks, salt, then stenciled with an off white chalk spray.
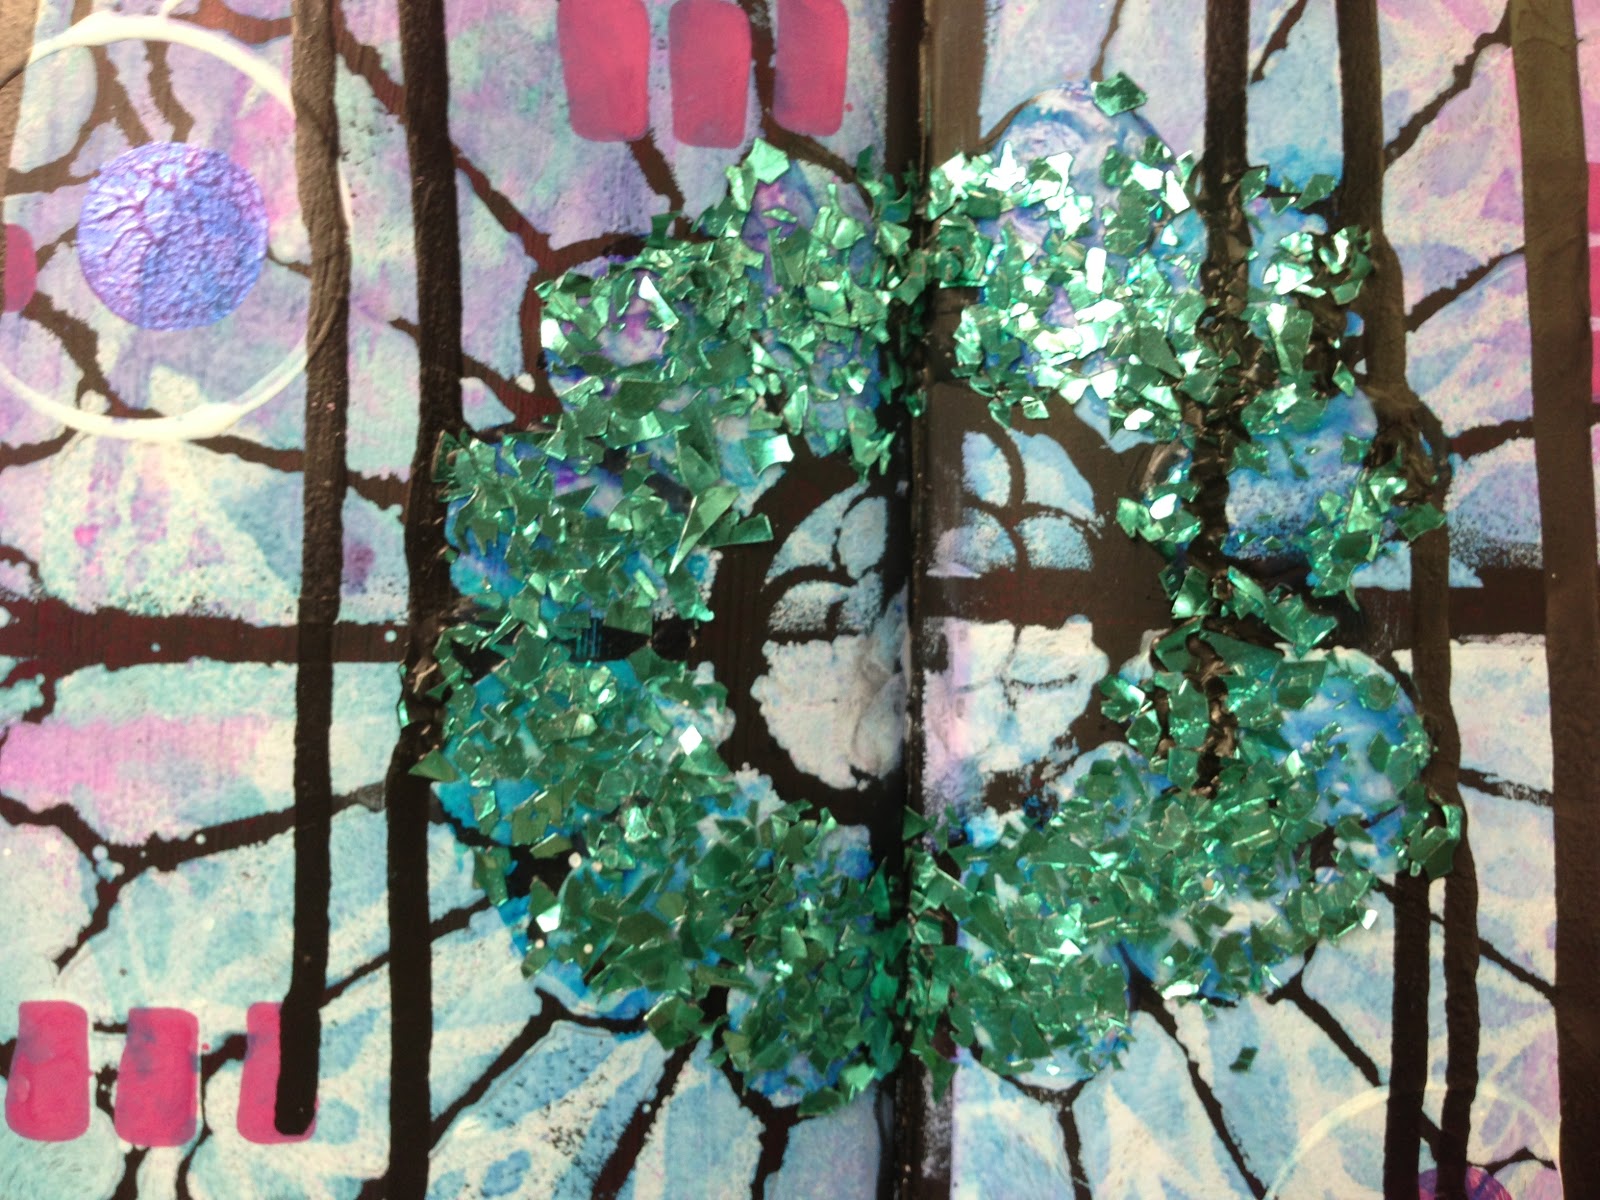
Did these at Stamp Camp. All the circles on the left were collaged onto the folder using some 'puke on a page' sheets a la Dina Wakley. The one on the right I used Golden's Black Lava Medium to do the punchanello circles. It gave them a really cool texture.
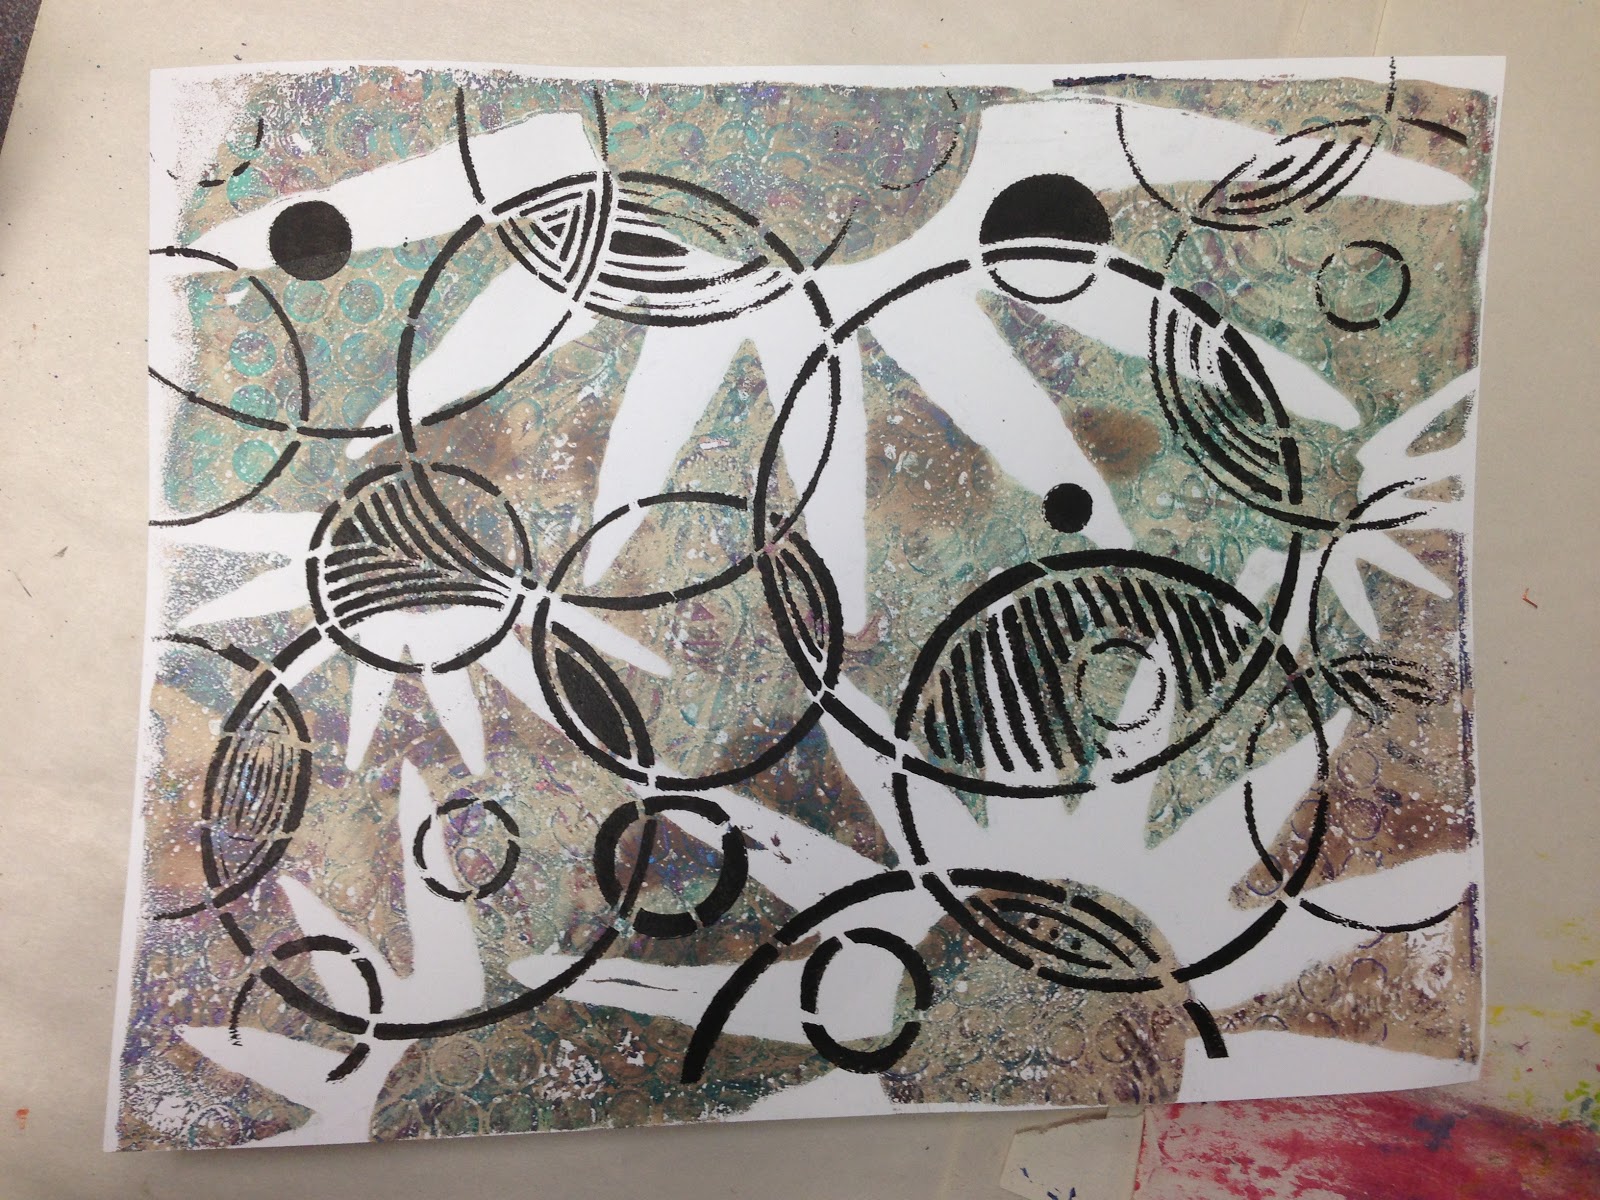
These were done at Stamp Camp too! I used Peerless Watercolors to paint over the spray inks to emphasize the spikes in the stencil pattern. And I used my Montana Acrylic 15mm nib black paint pen (LOVE!!!) to add those black notches along the bottom edge. I also used Golden's Light Molding Paste thru the Crafters Workshop Chicken Wire stencil for added texture.
Circles??? Shocker, I know!
The two on the left were done using Dylusions spray inks, salt and more of the off white spray. The black one was done with black gesso, then I sprayed Dylusions through one of the Artist Cellar Cathedral Stencils, then layed a different Cathedral Stencil over that and dabbed white gesso over the stencil so the ink would bleed thru. Another Cathedral Pattern on the far right.
I really like the depth of the layers I got on the one on the far right.
Another salted and sprayed folder on the far right.
Another black gesso folder on the right with Twinkling H2O's splattered about.
As you can probably surmise, when I go, I go big! I don't do anything 'just a little'. That may explain a lot if I ever show you pics of my 'studio'! Story of my life!
Hope you enjoyed my inky folders and will colorize your workspace with some of your own!
Thanks for stopping by!