Pages

Showing posts with label Crafters Workshop Stencils. Show all posts

Tuesday, February 12, 2013

New Video for Artistcellar Blog, New Gelli Prints Too!

Hello again everyone! I know its been a while since my last post. Its been crazy busy plus some downtime for a cold/sinus thing. Doing much better now and wanted to share with you my latest post on the Artistcellar blog. You can also link directly to the video here.

Here are a few pics of my project in the video using Artistcellar Cathedral Series Stencils - LOVE!!! 

 I started with a layer of black gesso, then went a little crazy. 


 You'll have to watch the video (ha ha!) to see how I got this look within the stencil pattern! ;o)

 This is a close up of the Viva Decor 3D Gel in Hologram I used thru a stencil. I love this stuff and it really pops on the black gesso. The black actually looks brown on this shot due to the angle and the overspray of the Dylusions Inks

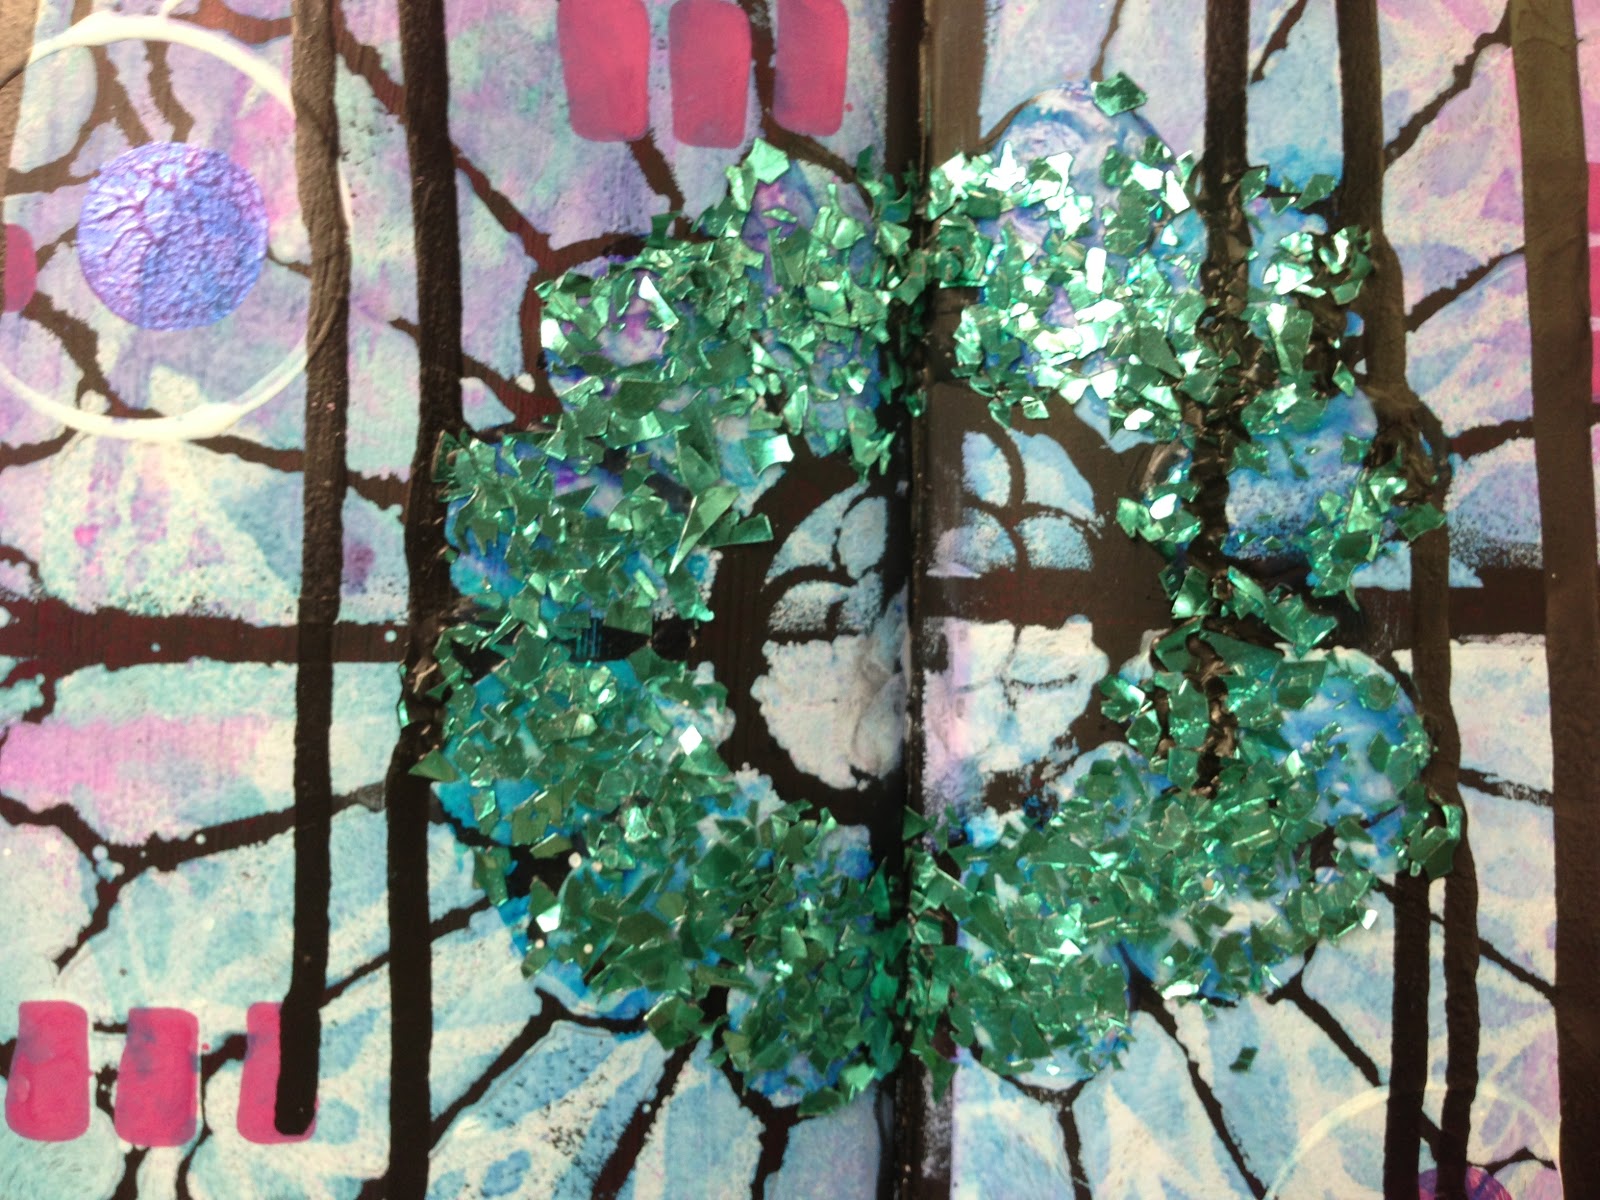
Using some Stewart Gill Gilding Chips here. Really cool stuff and tons of colors. You can buy this from Artistcellar

***************************

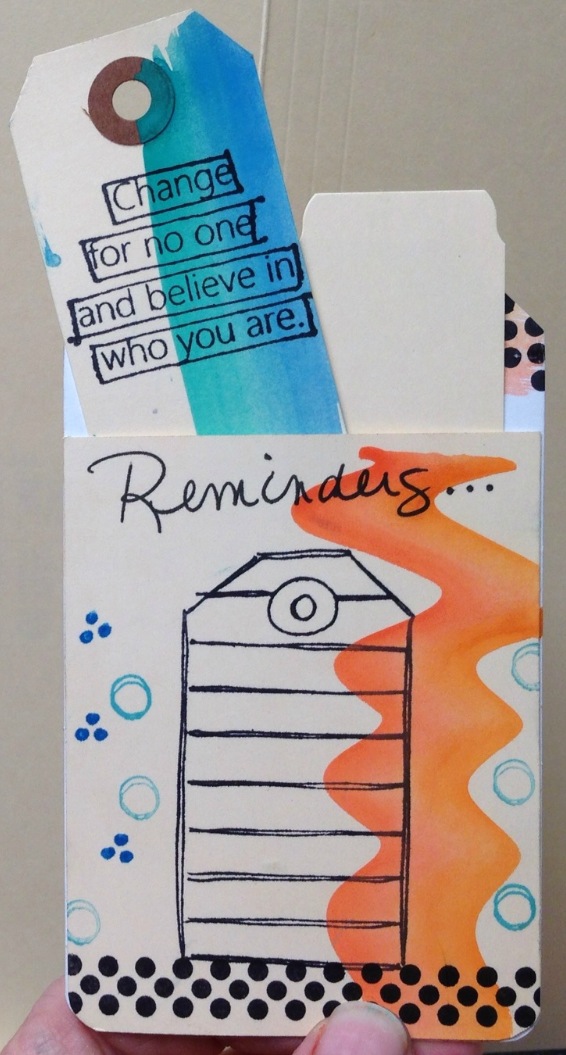
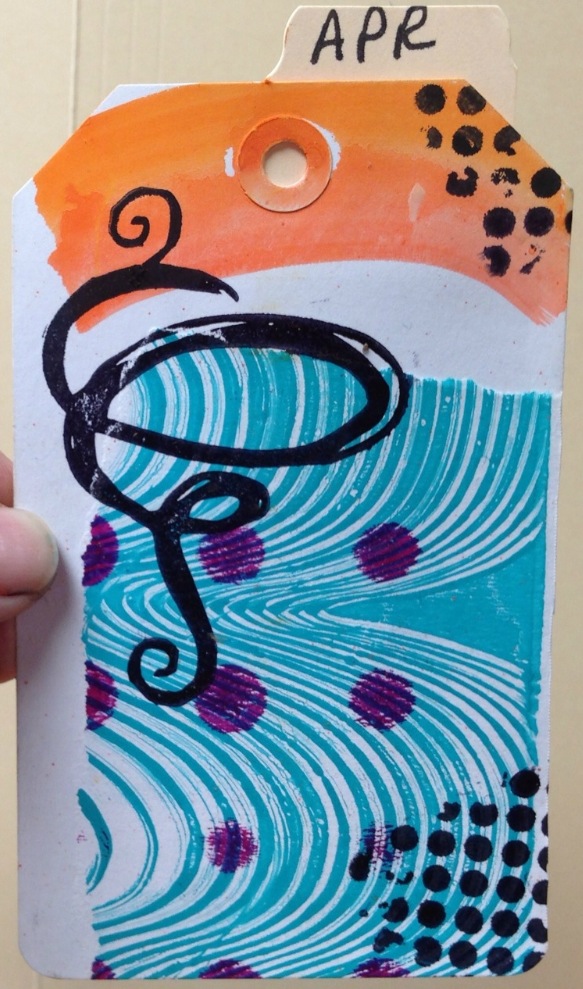
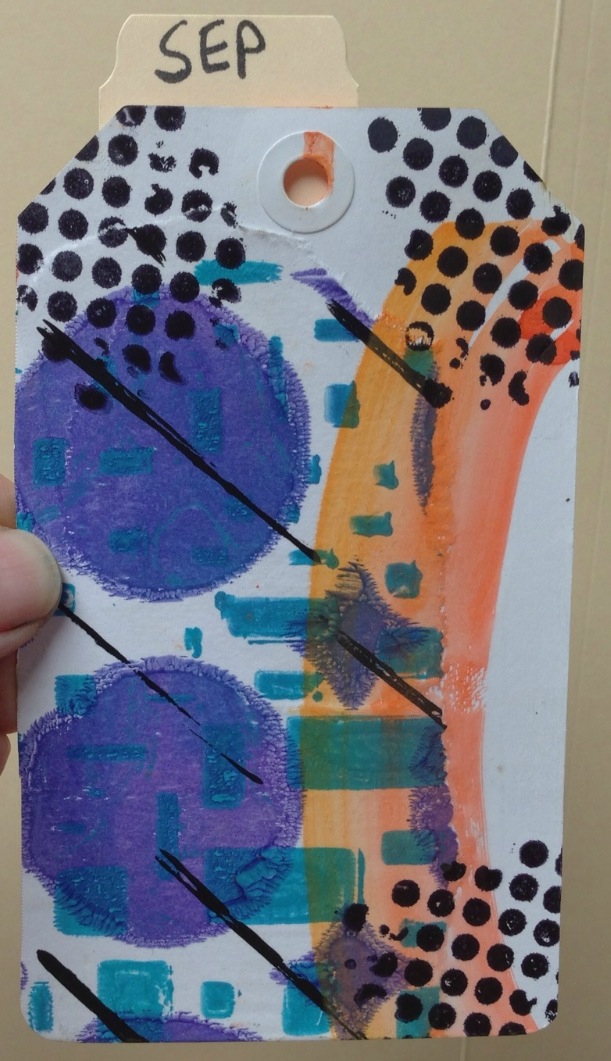
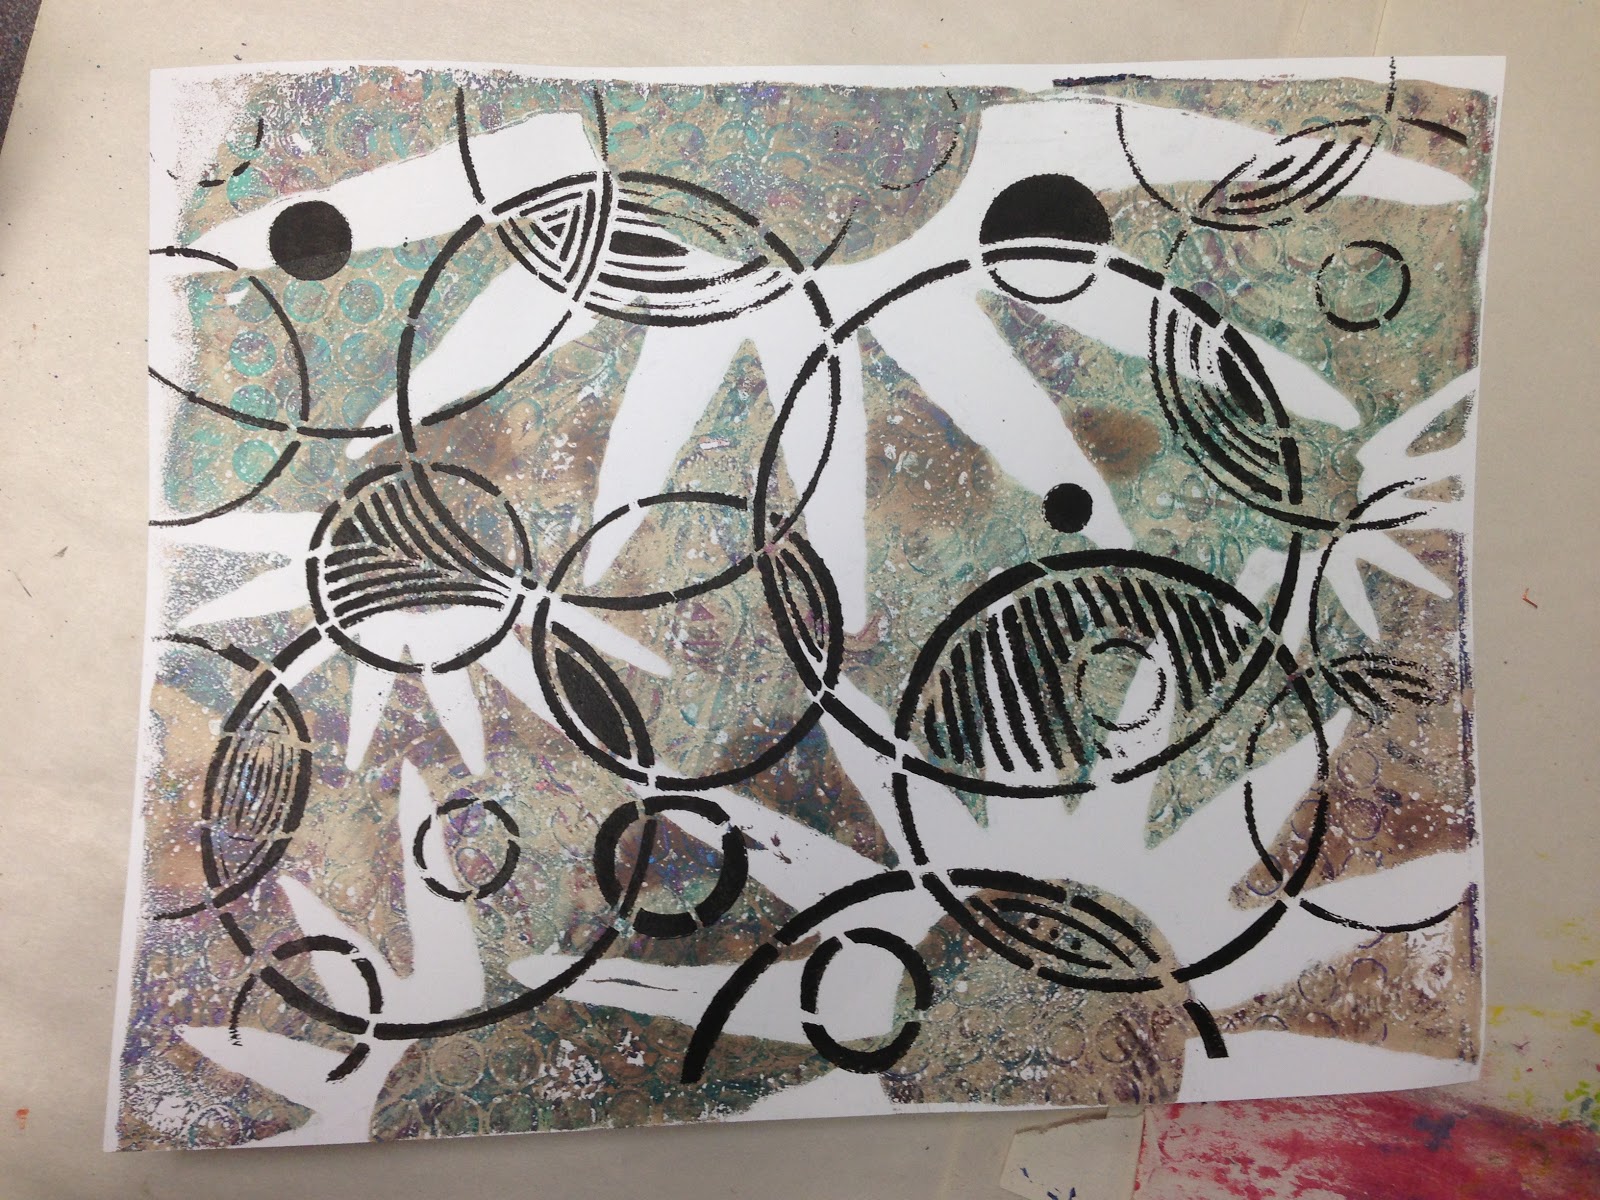
I've been up to some more gelli printing! If you decide to try it, please be prepared to seek help from a professional counselor! IT IS ADDICTING!!! You'll be in need of a 12 step program for sure, but what a way to go! So much fun. (If you decide you want to buy one anyway, check out The Queen's Ink if you're in the Maryland/DC area, or you can buy one directly from Gelli Arts

Here are a few of my latest prints using some of the newest Crafters Workshop stencils...

This one was a mop up of my dirty plate, but I love the way it came out. 

 This is a close up showing the detail that it picked up from previous prints. LOVE!!!


Quick post today! More coming soon, I promise! I've got some projects people have asked me to do including several canvases and some altered cigar boxes. I'll post pics of those as I go too. 

                                 ***************************

On another note, many of you know we lost my Dad in July of 2010. Today is his birthday. He would have been 88. Love you Daddy and miss you like crazy! 

 Me and my Daddy!

 Me and my Daddy 50+ years later! 

Handsome devil, wasn't he? ;o)

***************************

Now go have some fun and get all inky!!! 

Monday, December 17, 2012

My Take on a Perpetual Journal Calendar

Thank you Pinterest!!! Whatever did we do for random, ingenious, crafty ideas pre-Pinterest??? God forbid I have an original thought of my own! I happened across a pic of a perpetual journal the other day on Pinterest, which led me to Nicole Maki's blog, which in turn led me to Design Sponge, which led me to my studio! I had to give this a try. I made a prototype of sorts this weekend. I wanted to personalize it and make it even more useful for how I would use such a journal. I decided to incorporate a few extra bits. Here's what I came up with: 


I just used materials I had in my stash for the prototype, and why not my (current) favorite color combination of turquoise and orange?


I added some embellies because...well, I can! 

I decided I wanted more fun and color instead of just plain index cards for the daily pages. I sprayed some with Dylusions Inks thru Crafters Workshop Stencils, I made random marks with watercolors, I used some striped cards, some colored cards, and some paint splatters...


Then the monthly dividers...hmmm...if I were a monthly divider, what qualities would I like to see in myself to be the most efficient and loved divider ever? So I said, -- self -- you'd need to be colorful and pleasing to the eye, you'd definitely need to have a title, then maybe a pocket on the back for a little surprise note or tickets for that month, then a journaling spot for all those recurring reminders like birthdays and anniversaries that we need to remember each year. So here's what I came up with: 

 The little 'JAN' tab is actually a trimmed down 4 x 6 index card that I tucked into the back pocket. I wanted the month tab to be taller than the tags and didn't want the lettering to take away from the tag design. 

I used the manila scraps from the tab trimmings to make a pocket I adhered to the back of the tag. I made a little tag with a sentiment and stuck it in the pocket. I also added a Dylusions stamp of the ruled tag to make a journaling spot to jot down all those birthdays and anniversaries that happen every year. Here are the tags for the rest of the year -- you may recognize some of the collaged papers from my gelli plate stash:


I also wanted a bookmark, something that could serve as a placeholder for where you are in the year so that you didn't have to rifle thru weeks of tags to get to the right day. I found these at Home Goods in a pack of 6, all different colors and designs -- turquoise, please: 


I added some cotton lace to a cheap basket I had, some wooden legs I painted and glued to the bottom, and some other goodies from my stash. The end product:


Prototype complete...now, lessons learned -- the pockets I taped to the back of the tags are really tight. This works out well for holding the trimmed index tab in place, but its really tight to get the little tag with sentiments in and out, and would be even tighter with anything else added to it, ie tickets, notes, etc. Next time I'm going to use library card pockets and glue the index tab into place on the back of the card. Library card pockets already on order! Another lesson is that if you are going to make more than one of these, arrange the index cards so that you only have to change the date stamp one time for each date. You already have to change it 365 (plus 1 for Feb 29th - don't forget Leap Year!). So for my next 4 sets, I'll have all the cards cut and designs of cards mixed and counted out by the number of days per month, then I'll stamp all four Jan 01's at the same time, then roll the date to Jan 02 on the stamp, and continue to stamp all the 02 pages. Capeesh? (I have a sneaking suspicion that I did not spell that correctly!).

I'm going to try to pump a few more of these puppies out for last minute Christmas gifts. Why can't I come up with these ideas in say, July? I've also got a few sewing machine drawers on order from Etsy that I will use to make the calendar one long row of tags and cards, rather than the divided compartments I used in the basket I had on hand. I'm envisioning some Ranger Crackle Paint to begin the altering process, and I'm trying to come up with a cute way to add a pen holder as well. I'll be sure to post when I get this all figured out! 

*****************************************************************

I also made another altered cigar box this weekend. This one is for my friend Gail's Mom, Trudy. I'm calling it a Memory Box. Trudy is well into her 80's and always talks about Gail's Dad and how much she misses him. I had made one of these for my Mom that I blogged about in a previous post and thought it would be nice to make one for Trudy too. Here's how it turned out: 


 The frogs may seem out of place for the rest of the design, but Trudy LOVES frogs! I couldn't make something for her that didn't have a few of them included. I put one on the bottom and a few around the edges sort of in the back. I hope she enjoys it as much as my Mom loves hers. 

*****************************************************************

Thanks so much for stopping by! Until the next time...

Patti